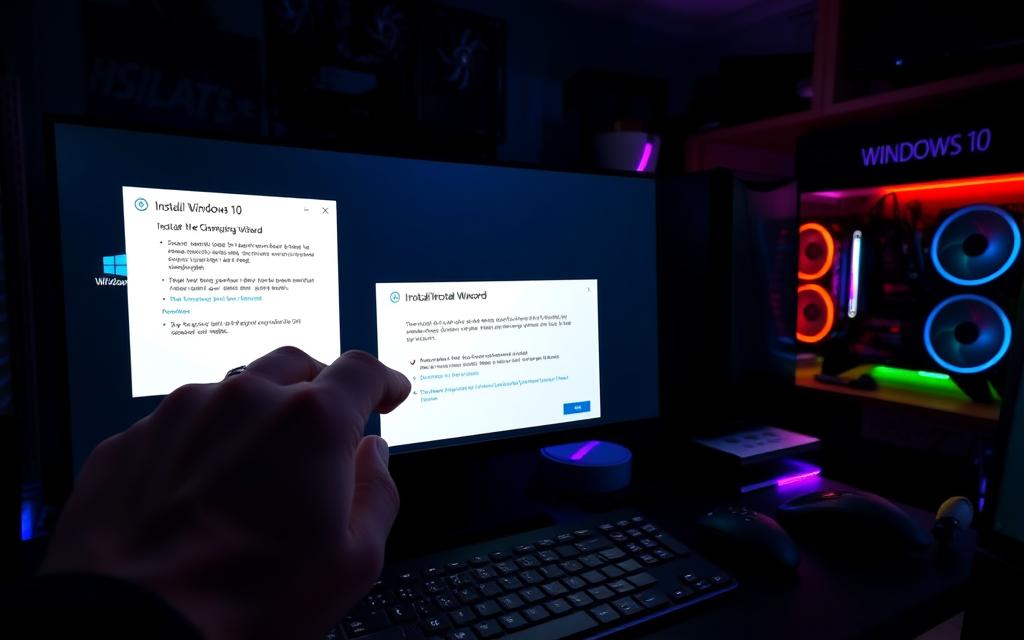
High-performance gaming rigs often face unique challenges during OS setup. Hardware conflicts, BIOS misconfigurations, or storage issues can disrupt the process. These problems demand targeted solutions to ensure smooth operation.
Gamers need optimized performance, making proper troubleshooting essential. Common pain points include Media Creation Tool errors, UEFI settings, and drive compatibility. Addressing these early prevents performance bottlenecks later.
This guide covers both basic and advanced fixes tailored for gaming systems. Microsoft’s official tools, like the Media Creation Tool, help diagnose installer issues. The focus remains on preserving system speed while resolving errors.
Some setups require specific adjustments, such as Intel VMD settings or IRST driver installations. These technical tweaks ensure compatibility with modern hardware. With the right approach, even complex issues can be resolved efficiently.
Can’t Download Windows 10 Installation to Gaming PC? Start Here
Powerful rigs may face compatibility issues during system setup. Hardware conflicts, outdated firmware, or storage misconfigurations often trigger these problems. Identifying the root cause early saves time and frustration.
Common Causes of Installation Failures
RAID configurations and overclocked components frequently disrupt the process. Even RGB lighting software can interfere with the installer. Always reset BIOS settings to default before attempting setup.
For hybrid Windows 11/10 installs, verify TPM 2.0 status and Secure Boot compatibility. These features are non-negotiable for modern systems. Use the Media Creation Tool to ensure your installer isn’t corrupted.
How to Verify Your System Meets Requirements
Check storage first. NVMe/SSDs need 64GB+ free space and NTFS formatting. Run MemTest86 to validate DDR4/DDR5 stability. GPU driver conflicts? Boot into Safe Mode to isolate the issue.
Microsoft’s official checklist includes:
- 1 GHz+ 64-bit processor
- 4GB+ RAM (8GB recommended for gaming)
- UEFI firmware with Secure Boot
For stubborn drives, use diskpart commands to clean and reformat. Type list disk and clean in Command Prompt before partitioning. This wipes lingering errors.
Step-by-Step Fixes Using the Media Creation Tool
Many system setup problems stem from improper media preparation or configuration errors. The right tools and techniques can streamline the process. Microsoft’s Media Creation Tool offers a reliable way to handle these challenges.
Creating a Bootable USB Flash Drive
Start with a USB 3.2 Gen 2 drive formatted to FAT32. This ensures UEFI compatibility. The Media Creation Tool simplifies the process with guided steps:
- Insert a blank 8GB+ flash drive
- Run the tool as administrator
- Select “Create installation media”
- Choose language and edition matching your license
For ISO verification, use SHA-256 checksums. This confirms file integrity before installation. Corrupted files often cause errors like 0x80070002.
| Error Code | Solution |
|---|---|
| 0x80070002 | Reformat drive and recreate media |
| 0xC1900101 | Update chipset drivers first |
| 0x8007025D | Verify ISO checksum |
Resolving “Windows Installer Could Not Be Configured” Errors
Registry edits often fix these issues. Navigate to HKEY_LOCAL_MACHINE\SOFTWARE\Microsoft\Windows\CurrentVersion\Setup. Modify SetupContentFiles values if corrupted.
For advanced troubleshooting:
- Run
DISM /Online /Cleanup-Image /RestoreHealth - Execute
SFC /scannow - Inject motherboard drivers during setup
Multi-drive systems need proper partition alignment. The boot order guide explains optimal configurations for performance setups.
BIOS and UEFI Settings for Successful Installation
Motherboard firmware settings directly impact OS compatibility. Modern rigs demand precise configurations to avoid boot loops or hardware conflicts. Proper adjustments ensure optimal performance and security.
Legacy vs. UEFI: Choosing the Right Boot Mode
CSM (Legacy) supports older GPUs but lacks Secure Boot. UEFI is faster and safer for NVMe drives. Match the mode to your hardware:
| Boot Mode | Best For | Limitations |
|---|---|---|
| Legacy (CSM) | GTX 900 series or older | No TPM 2.0 support |
| UEFI | RTX 3000+/AMD RX 6000+ | Requires GPT partitioning |
Microsoft MVP Ramesh Srinivasan advises:
“Always update firmware before switching modes. Incompatible settings corrupt bootloaders.”
Accessing BIOS on Gaming Motherboards
Follow these steps for popular brands:
- ASUS ROG: Press DEL/F2 during splash screen
- MSI MAG: Use DEL or USB Flashback button
- Gigabyte AORUS: F12 or END key
Enable Secure Boot with Microsoft’s UEFI certificates. For AMD/Intel systems, activate fTPM or PTT in BIOS. RAID users should disable Intel VMD until post-setup.
Stuck? This Acer community thread highlights UEFI-Legacy conflicts and fixes.
Conclusion: Ensuring a Smooth Windows 10 Installation
A successful system setup depends on two key factors: verified hardware compatibility and proper boot media preparation. Always check your motherboard’s firmware version before starting. Updated BIOS ensures better support for modern components.
Create a restore point after completing the initial steps. This safeguards against driver conflicts later. Follow Microsoft’s optimization checklist for peak performance. Disable unnecessary background processes and update drivers regularly.
For persistent issues, contact Microsoft Support or check community forums. Your feedback helps improve our guides. Share your experience to assist other users facing similar challenges.
After setup, verify game files in platforms like Steam or Epic. Consider performance upgrades if needed. These steps ensure your rig runs flawlessly for years.

